Back To Galleries
![Before and After Image]()
![Before and After Image]()
![Before and After Image]()
![Before and After Image]()
![Before and After Image]()
![Before and After Image]()
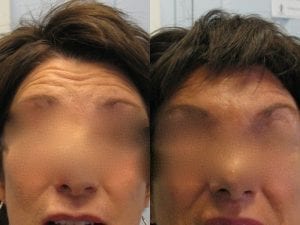
BOTOX® Patient 01
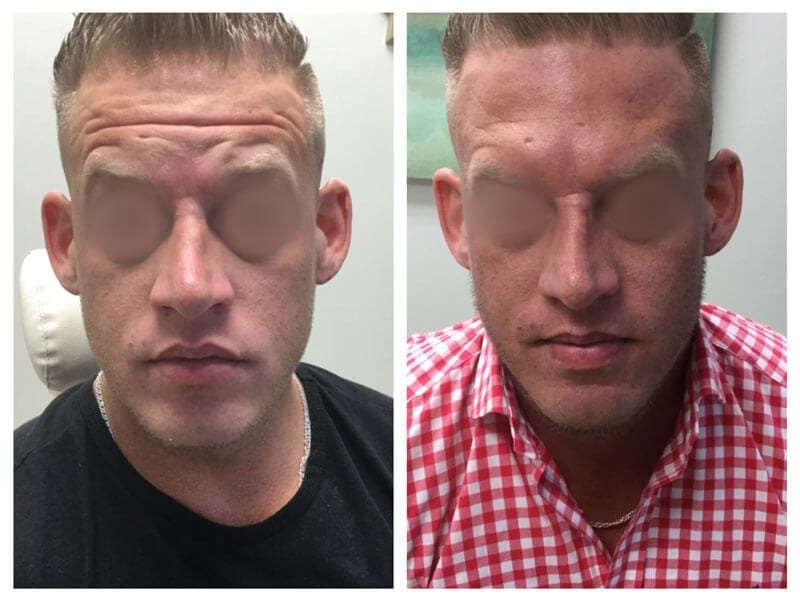
*Results May Vary
Botox® Patient 02
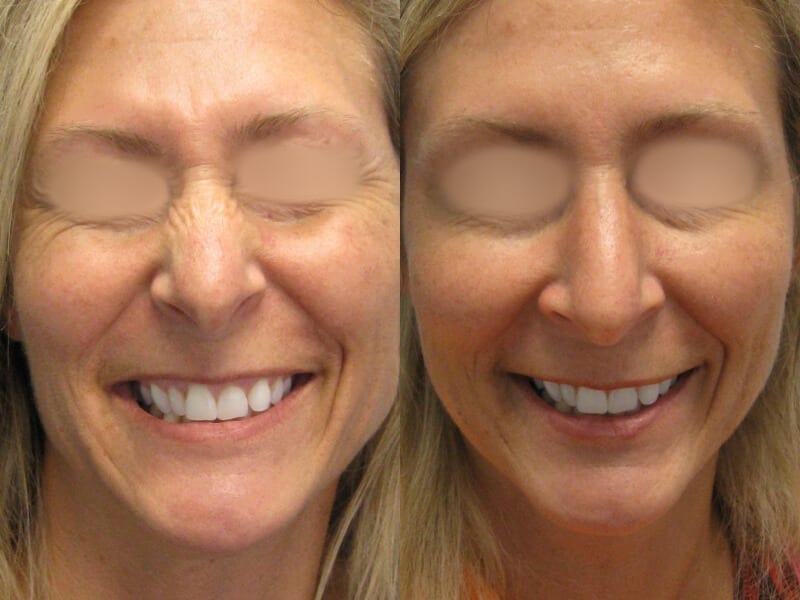
*Results May Vary
Botox® Patient 03

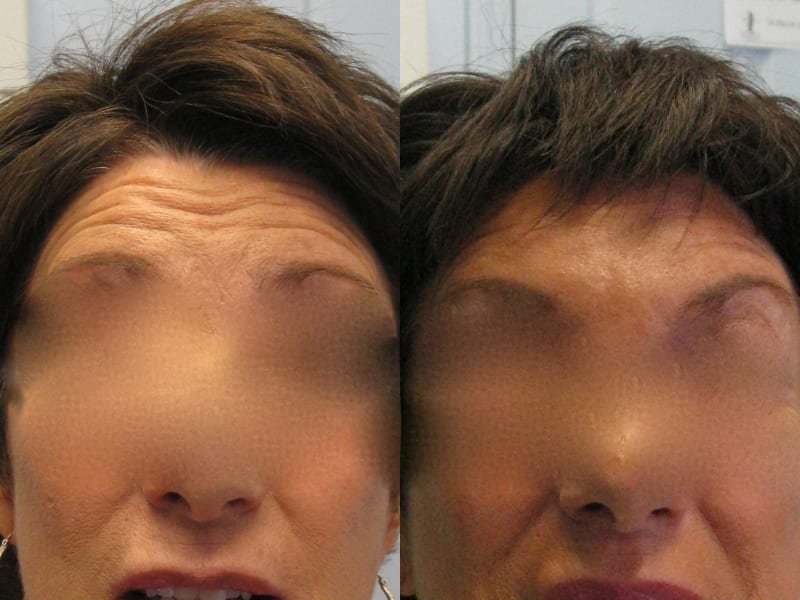
*Results May Vary